Sunday, October 13, 2013

Painted buffet

I just love a good old piece of furniture, don't you?  I had someone bring me this beauty.  It was pulled out of a built-in her Grandparents shop.  I would love to find more pieces like this one.  As for the paint she wanted to to have all the character with all the dings and scratches in tact.  Here is a before picture.
I love love love the shape and the pulls.  The color she picked as a lime green.  I painted 2 coats then distressed.  Finally it was time for wax.  I love how the dark wax added so much dimension to the piece.  It made it look new old :) I just love it and wish it was going in my house!!  Thanks for stopping by :)


Wednesday, October 9, 2013

Projects :)

Computer is down so just posting pics of projects, hope to be up and running by next week!

Monday, August 26, 2013

Man I am way behind!!

Here are some before and afters and a few random projects I have been working on in August.  I really need to be on top of posting or hire someone to do it for me :)

Vanity before and after


Marble side table before and after


 Side table
 Antique Chair and cushion


Writing desk converted to docking station


 Custom built tv console


 Painted side table

 Faux zinc top desk


 12x12 boxes made from bard wood and old rope


 Painted buffet

 Chair re-do

 Painted side table


Thursday, August 1, 2013

Wardrobe made into man bar

I really do need to get better at posting my projects right when I do them :( maybe next time!

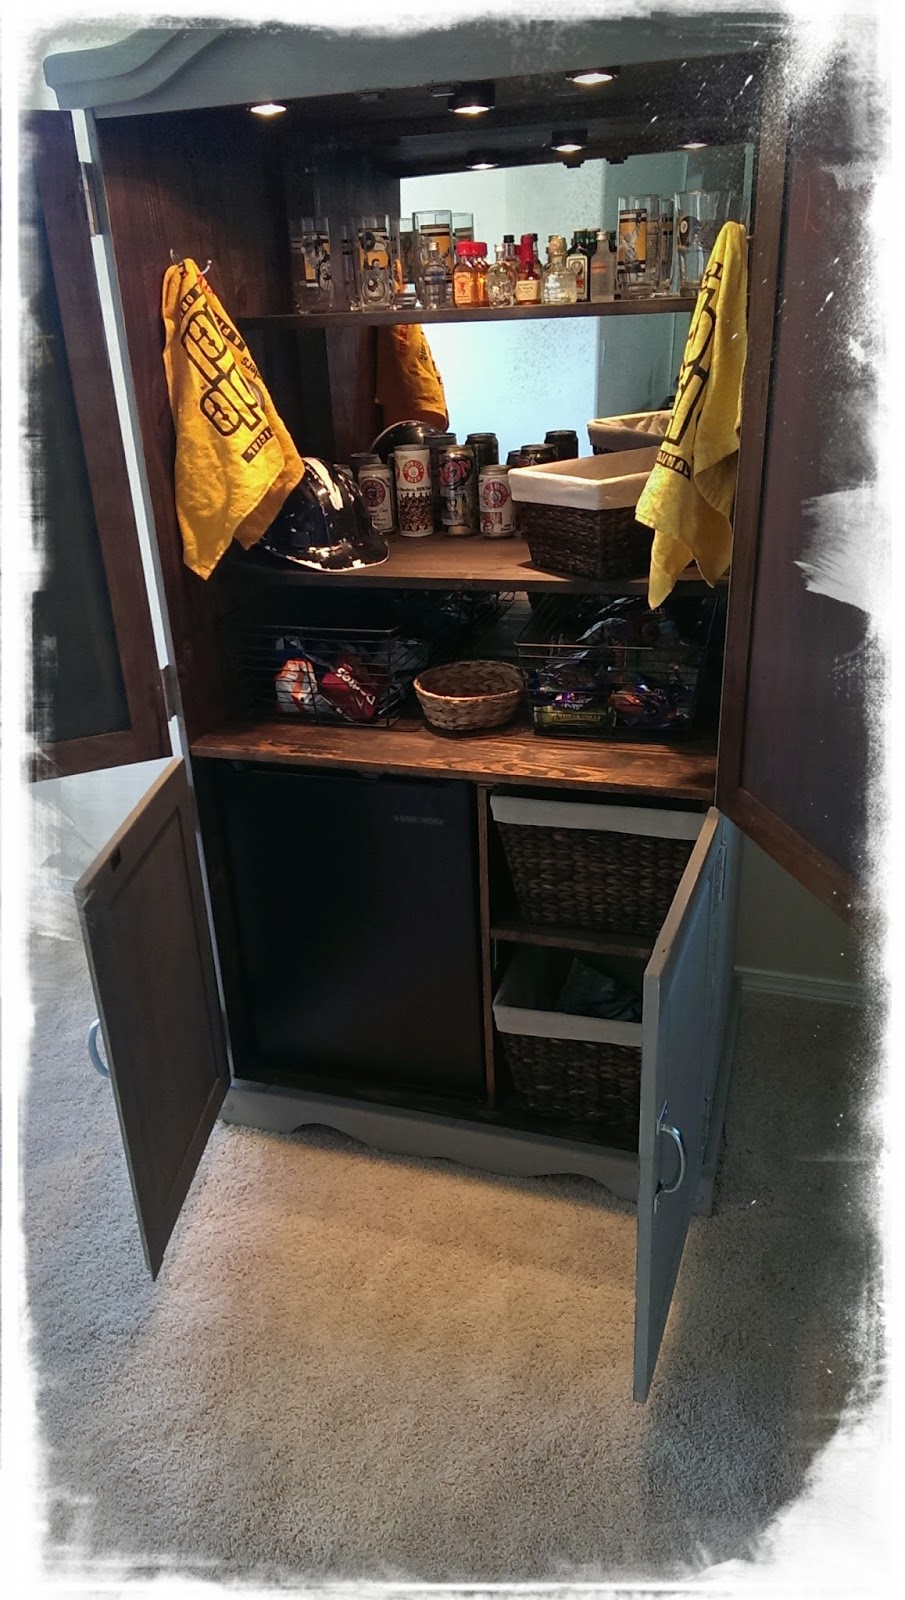
Ok, so my neighbor and good friend said to me one Monday afternoon "Hey, it's our anniversary on Sunday do you think you could make a Steelers themed bar to surprise my husband?"  Well, if you  knew me you know don't give me a challenge like that and expect me not to take it!  5 days wasn't much time though.  fortunately I had an old wardrobe that was once in my master bedroom that I was getting rid of.  And lucky me I have a very patient husband who is great at distracting the kids while I work :) Thanks Honey!!  There was tons of work to do though to make it a Steelers Bar.  I don't think he would have wanted to cream scrolls on the doors :)  Here is the inside with the door removed.  I couldn't locate the before pic.


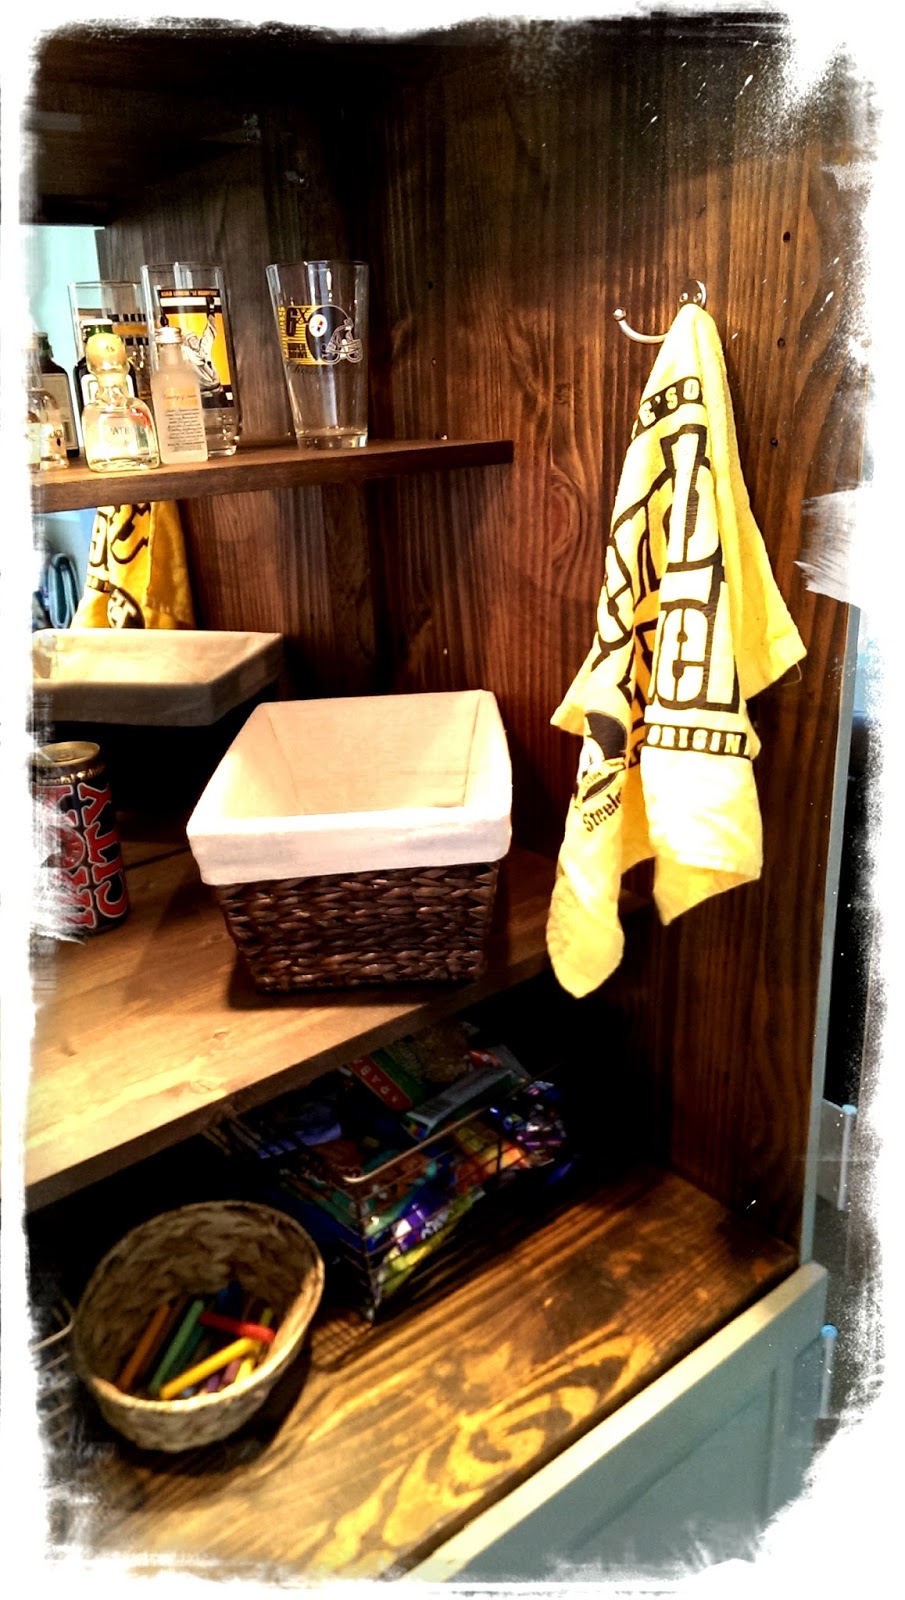
Skip ahead, I stained the inside dark.  I didn't want to paint inside since the outside was going to be painted.  This just seemed to scream man bar.  I also installed lights and a mirror which I purchased at Lowes.  Shelves installed for all his collectible glasses.


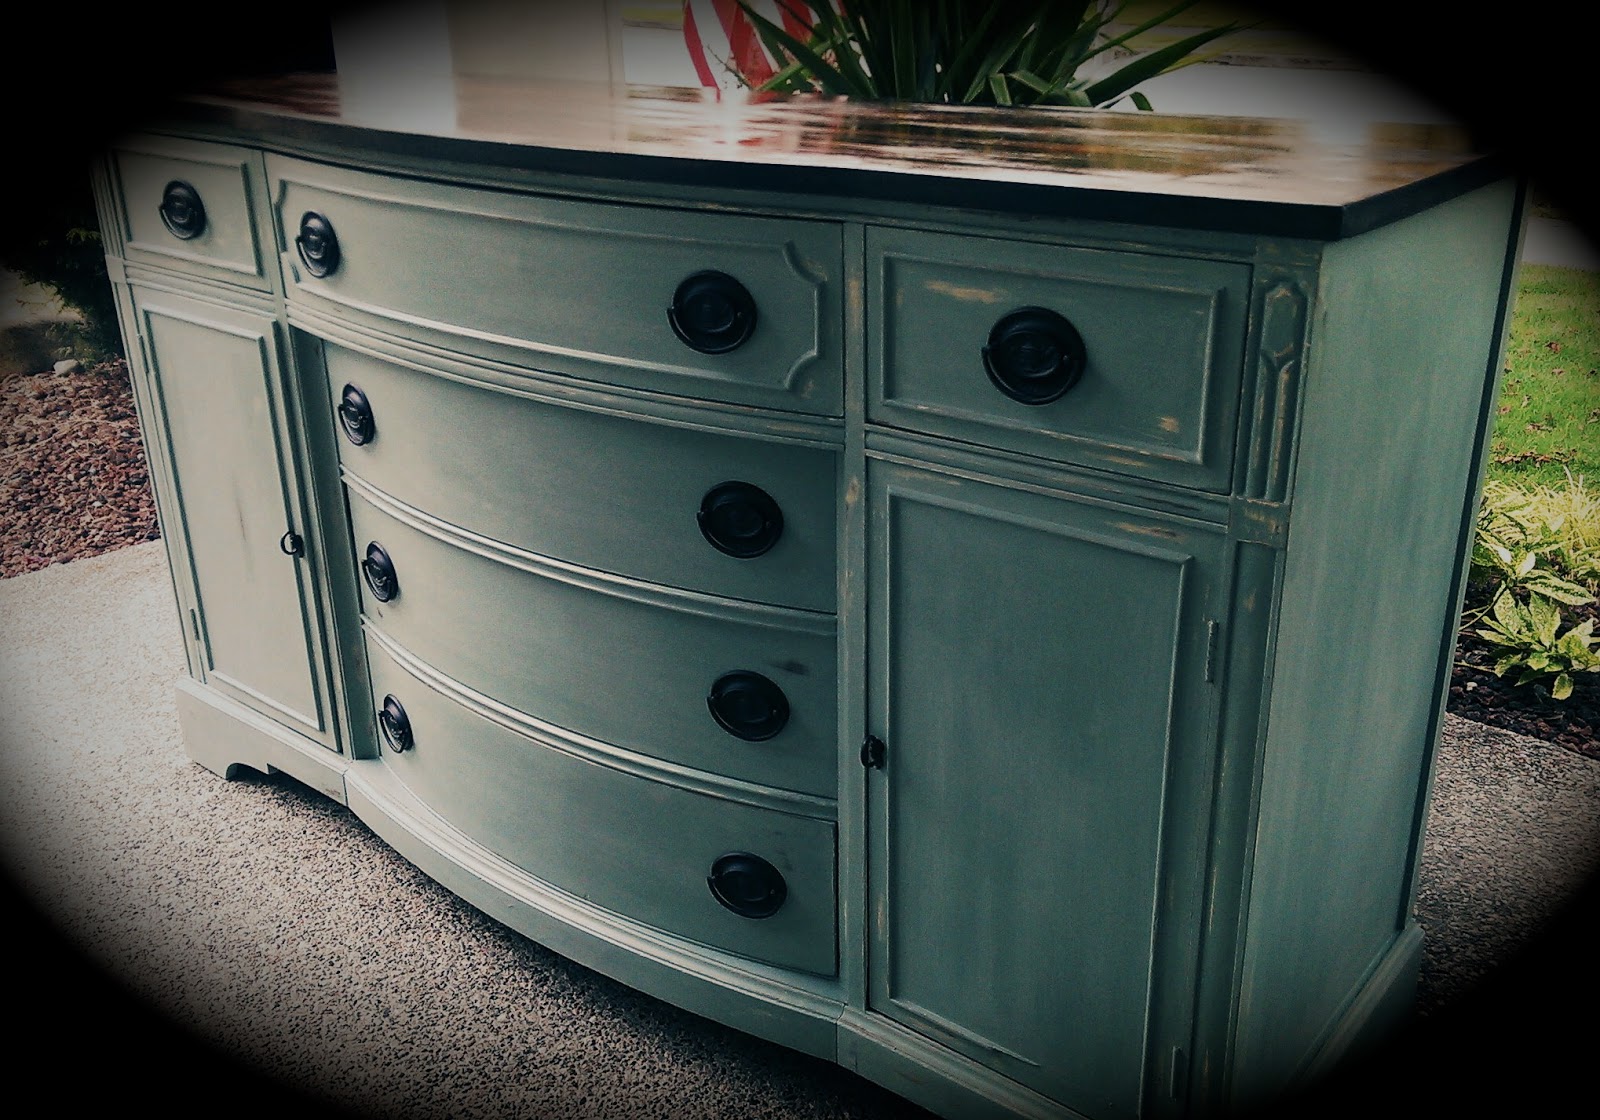
After sanding to remove all the scrolls, your can't paint over them or it will show the imprint of the design through the paint, not good!  I painted the whole outside French Linen.  I am just loving Grays right now!!  Aren't you?  


 Ok, so I have to admit, I wasn't thrilled with the Steelers design on the front.  Sorry Kate!!  I was just worried it would be to tacky being bright yellow, red and blue.  I was sooooo happy when she called and said she wanted it neutral!!  Yippee!!  I sketched the diamond onto a piece of cardboard so I could trace it onto the door 3 times.  After that it was just a matter of filling in with a paint brush.


Here it is painted.  Waiting to dry so I can distress and wax.  I added chalkboard paint inside both doors where he can write game times, scores or whatever.  Doesn't it look so great with the lights on?


Here is is finished.  He loved it by the way.  It was a great surprise!!


Kate got a mini fridge to go inside the doors!


Hope you liked it and it gives you inspiration to convert an unused piece of furniture to something else :)


Wednesday, July 3, 2013

Family Table project, part 1

I have always wanted a beautiful dining room table and loved the barn style ones you see everywhere right now.  But oh man the price was waaaaayyy too high for this girl.  I couldn't decide if I wanted to build the whole table or just the top.  When I found this table on CL I knew I had to have it.  It is over 100 yrs old and the carvings on the legs were perfect.  The top wasn't great but I planned on replacing it anyway.
Now don't get me wrong, I loved it like this.  The top had tons of water stains when I purchased it.  I decided to paint and distress the table.  The issue with the top was one of the end boards was cracked and when you lean on the end of the table it separates some.  Not to mention the whole top was rickety.


These are the carvings on the legs that I just loved.  I do in hindsight regret painting the detailed areas, it took over 6 hours to remove the paint!!


First step was to strip the legs and remove the top.  Like I said this took 6 hours with a toothbrush no less.  Not a great idea to paint and then strip.  But, I did decide that by doing that I guaranteed the stain for the top will match the legs perfectly.  I know I would not have stripped the old stain off so in a way it helped :) or that's what I'm gonna tell myself anyway. Here are a few picture of the base getting stripped of the paint.


Stained

So glad that part is finished!  But I love how the legs turned out :)  Next step is to make the top.  I used a Kreg Jig to do this and it made it much easier.  If you are going to make your own table I do recommend that you pay close attention to the straightness of your boards.  I had one that was a little warped and it through off the whole top by about 1/4 of and inch.  Not an easy fix!!  

I do so love my Jig!!!  Drill all your jig holes.  Make sure to use wood glue between each board.  Clamping helps keep the boards exactly where you want them.  Trust me they will shift without clamps, use clamps!  


 Once the top is dry you can remove the clamps and add the skirt.  This is measured with recycled 1x1's.

Stay tuned for the reveal in part 2 , thanks for stopping by!!